
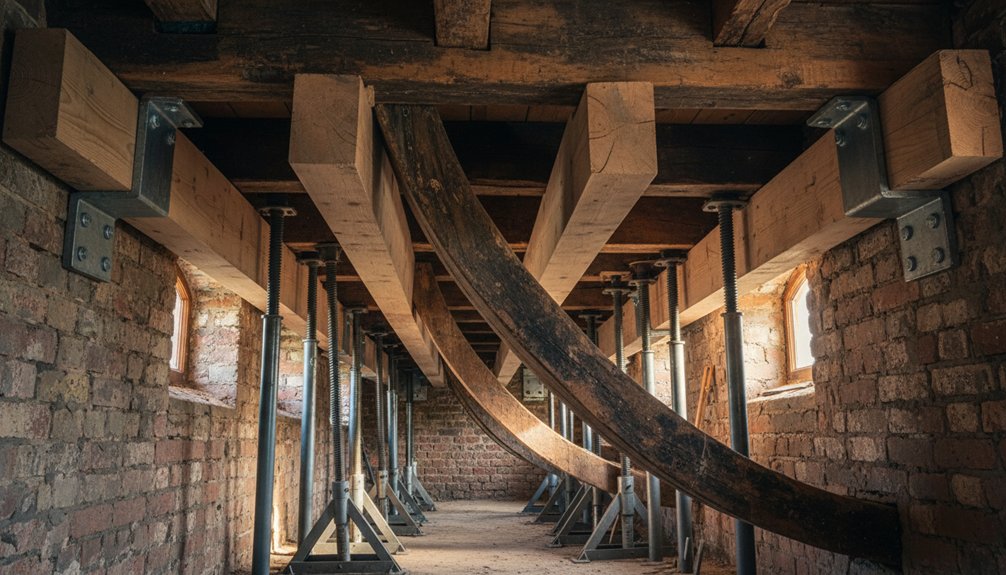
When you identify sagging Victorian floor joists, don’t rush to lift them. First, inspect the joists, bearing walls, and surrounding floor for rot, insect damage, altered supports, or long-term movement. You’ll need to establish the cause before choosing suitable temporary supports and hardwood packing. By lifting gradually and reinforcing with carefully matched timber or steel, you can restore stability while protecting historic fabric—but the most critical decisions often arise before the first jack moves.
Key Takeaways
- Inspect joists, bearings, supporting walls, floor levels, rot, insects, cracks, and deflection before disturbing the structure.
- Install temporary steel props on solid sole plates, positioned near existing bearings to prevent movement during lifting.
- Raise sagging joists gradually with measured jacking, monitoring masonry, plaster, doors, and floor levels after every adjustment.
- Reinforce weakened joists with full-length sister timbers or specified steel sections, extending across damaged areas onto sound supports.
- Preserve original boards, fixings, tool marks, and finishes while replacing only severely damaged materials with compatible, matching timber.
Identify Sagging Victorian Floor Joists
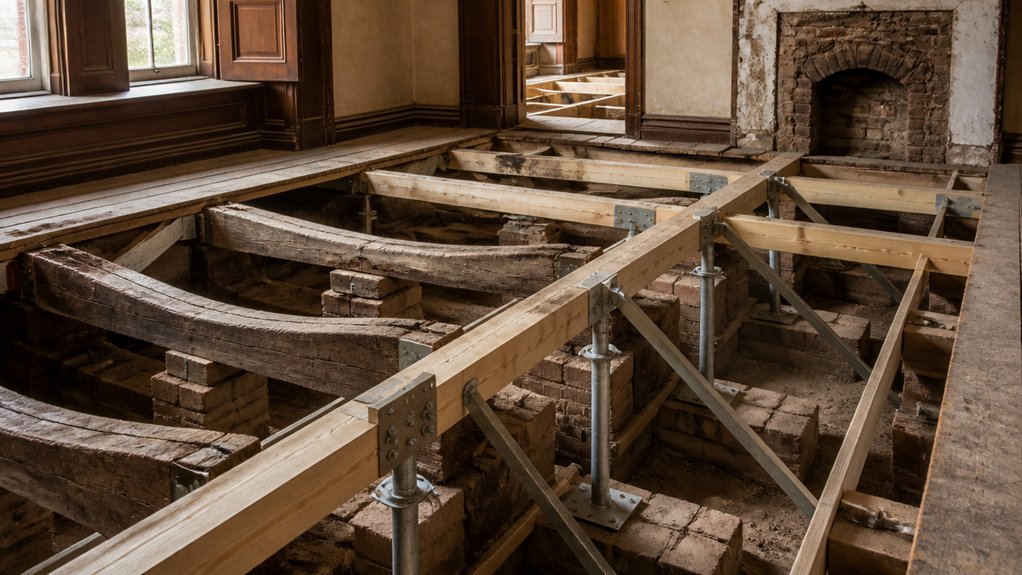
Before reinforcing Victorian floor joists, inspect the floor for a noticeable dip, springy boards, cracked plaster, or doors that no longer close squarely. These signs can indicate deflection, but they don’t prove which member has sagged.
Place a long straightedge across the boards, then measure gaps with a rule at several points. Mark the deepest depression and compare it with adjoining rooms; uneven settlement can mimic joist failure.
Check whether floorboards rise over partition lines, a pattern that often reveals historic alterations rather than isolated weakness.
Look above for ceiling irregularities, and note movement around skirting boards, fireplaces, or Decorative molding.
Photograph each observation before disturbing finishes.
Historical accuracy matters, so record original levels and avoid lifting boards until you’ve mapped the floor’s profile carefully and consistently.
Inspect Joists and Supporting Walls
Inspect each Victorian joist for rot, insect damage, cracking, and excessive deflection.
Assess the supporting walls for dampness, mortar failure, settlement, and altered openings.
You’ll then identify signs of structural movement, such as stepped cracking or uneven bearing, before specifying reinforcement.
Check Joist Condition
Start by examining each Victorian floor joist and its supporting walls for decay, insect damage, cracking, or unauthorised alterations. Use a bright light, probe suspect timber with an awl, and record dimensions, spacing, bearing length, and visible deflection.
Pay particular attention to joist ends concealed within masonry, where trapped moisture commonly causes end rot. Look for flight holes, frass, softened fibres, split grain, and previous sistering that may conceal deterioration.
Don’t remove sound historic fabric merely to achieve a straighter appearance; retain evidence of original construction wherever safety permits. Historical accuracy and aesthetic considerations matter, especially where boards, plaster, or mouldings remain visible.
Photograph every defect and mark its position on a measured plan. If damage affects structural depth or continuity, arrange assessment by a qualified conservation-minded structural engineer before loading the floor or planning repairs.
Assess Supporting Walls
Assess the supporting walls for sound masonry, adequate bearing, and signs of movement before altering the joists. Examine brickwork, stonework, mortar joints, and any timber plates where joists enter the wall.
Look for crumbling mortar, widened joints, damp damage, or crushed bearing pockets; these conditions can reduce the wall’s capacity to support corrected loads. Confirm that each joist bears sufficiently—typically at least 150 mm on masonry, subject to your engineer’s advice—and check whether later alterations have weakened the support.
Don’t remove plaster prematurely: it may conceal historic finishes and valuable evidence. Record construction details, materials, and previous repairs, then consult a conservation-minded structural engineer where capacity remains uncertain.
This approach protects Historical accuracy and supports aesthetic preservation while providing a reliable foundation for straightening and reinforcing the floor.
Identify Structural Movement
Before altering the joists, determine whether movement is active, historic, or confined to the floor structure.
Inspect each joist for fresh splits, crushed bearings, fungal decay, insect damage, and recently exposed timber. Mark crack ends and recheck them after several weeks; expanding cracks suggest continuing movement.
Examine supporting walls for stepped masonry cracks, bulging faces, displaced brick, open joints, or gaps between joists and wall plates.
Check whether floors slope consistently toward a wall or show isolated deflection between supports.
Compare findings with original plans, alterations, and previous repairs.
A level, laser, and moisture meter can document geometry without disturbing fabric.
If walls are moving, consult a structural engineer before lifting anything.
For Historical preservation, favor reversible repairs and Material compatibility between new timber, masonry, and existing fixings.
Never conceal active defects beneath strengthening work.
Assess Rot, Insects, and Structural Damage
When examining Victorian floor joists, identify decay, insect damage, and structural distress before selecting a reinforcement method.
Trace moisture intrusion around masonry walls, plumbing, roof leaks, and poorly ventilated voids; damp timber often develops fungal rot at its ends. Probe suspicious areas with an awl, noting softness, crumbling fibers, staining, or a musty odor.
Inspect for pest infestation, including beetle exit holes, fresh frass, galleries, and weakened sapwood. Distinguish historic marks from active damage by checking whether debris appears fresh and whether new holes expose pale edges.
Measure any section loss, splits, crushing, excessive notches, or failed connections, and photograph each finding. Compare damaged dimensions with sound timber nearby.
If decay reaches a bearing end or damage compromises a load path, consult a qualified structural professional before specifying repairs.
Support Joists Safely Before Lifting
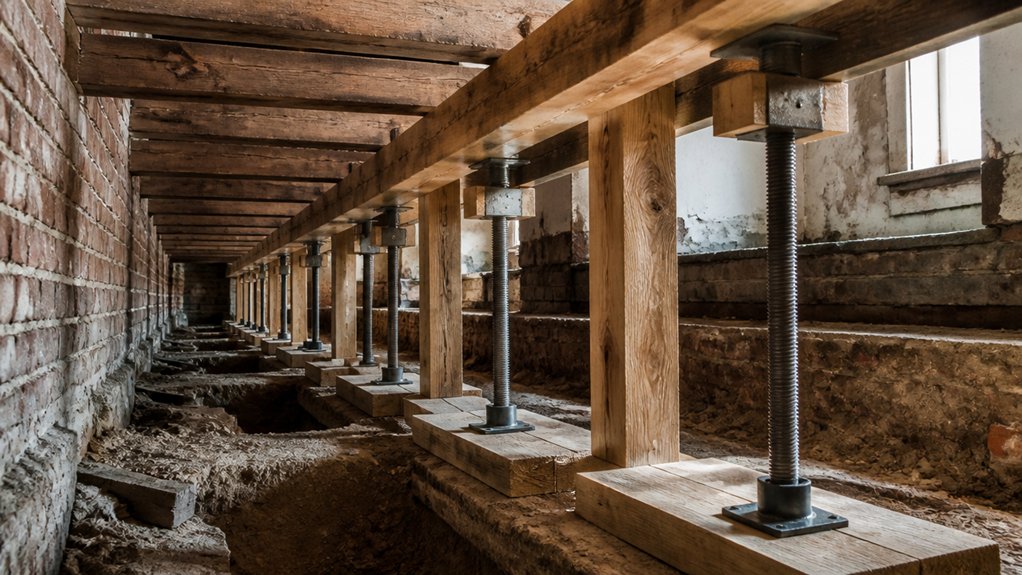
Because lifting can shift loads suddenly, install temporary supports before raising any Victorian joist.
Clear the room, locate bearing walls, and inspect masonry for sound contact.
Set adjustable steel props on solid sole plates, not directly on boards or fragile plaster.
Add timber spreaders beneath each prop to improve load distribution and prevent crushing.
Position supports close to existing bearings, while leaving enough working space to fit lifting equipment later.
Where joists meet walls, use temporary support brackets or a stout ledger fixed into reliable masonry; don’t trust loose lath, cracked mortar, or old nails.
Brace props against sideways movement, and check that floors above won’t overload them.
Mark every support location, record its purpose, and confirm the arrangement with a structural professional before disturbing any permanent connection.
Lift Sagging Joists Gradually
Set up temporary supports beneath the sagging Victorian joists before applying any lifting force.
You’ll raise them incrementally, allowing the structure to settle without cracking plaster, shifting masonry, or overloading sound timber.
Monitor each stage and stop if resistance or movement suggests hidden damage.
Set Up Temporary Supports
Before lifting a sagging Victorian joist, install temporary supports to carry the load and control movement. Inspect the basement or crawlspace first, noting masonry walls, damp areas, and any services that could obstruct safe placement.
Set stout support beams beneath the affected joists, running them perpendicular to the joists so loads distribute across several members. Use sound, straight timber or rated steel, and seat each beam on solid, level bases rather than loose soil or flooring.
Add Temporary bracing at both ends to prevent rolling, racking, or lateral movement. Pack gaps with hardwood wedges or steel shims, not brittle offcuts. Keep supports clear of pipes and wiring, and check that doors, partitions, and finishes won’t bear unexpectedly.
Mark each support’s position and inspect it before proceeding.
Raise Joists Incrementally
With the temporary supports secured and checked, begin raising the sagging joists in small, controlled increments. Lift each beam gradually, alternating between supports so you don’t twist the historic floor structure. A hydraulic jack can provide measured force, but place a hardwood packing block between jack and joist to distribute pressure.
Raise the assembly only a few millimetres at a time, then pause and inspect walls, ceilings, partitions, and masonry for movement or cracking. Don’t force the floor perfectly level in one operation; old timber may have permanently deformed, and sudden correction can damage plaster or joints.
Your goal combines Historical accuracy with structural safety: retain appropriate tolerances while restoring bearing and strength. Record every lift, and reassess after each stage.
Careful Material selection for packing and replacement members will protect the joists throughout.
Strengthen Joists With Proper Sistering
Proper sistering strengthens a Victorian floor joist by fastening a new, sound timber alongside the weakened member so both carry the load together.
Begin by measuring the existing joist, checking its bearing at each end, and confirming that services won’t obstruct the work.
Your Material selection matters: choose straight, dry, graded timber matching the original joist’s depth, or use an engineer-specified steel section where decay or loading demands it.
Cut the sister to extend across the damaged zone and onto sound supports, preferably for its full span.
Use Sistering techniques that include tight clamping, staged jacking only as directed, and structural screws or bolts at designed spacings.
Predrill near timber ends, avoid crushing historic wood, and keep fasteners aligned.
An engineer should verify loads, connections, and bearing before you close the floor.
Protect Original Victorian Features
When reinforcing Victorian floor joists, preserve original fabric wherever it remains sound and structurally serviceable. Before cutting, drilling, or removing anything, inspect joist ends, wrought-iron fixings, timber wedges, and surviving boards.
Your contractor should record dimensions, locations, tool marks, and construction details, then design interventions around them rather than replacing them unnecessarily.
Victorian craftsmanship often includes hand-cut joints and subtle irregularities that modern materials shouldn’t disguise. Use reversible preservation techniques wherever practical: fit sister members alongside, retain original fasteners, and separate new timber with discreet, compatible membranes when moisture or chemical contact could cause damage.
Don’t plane, sand, or expose historic surfaces merely to achieve visual uniformity. Protect decorative ceilings, cornices, and skirtings during access work, and label removed elements so you can return them accurately after structural operations.
Restore Floors and Prevent Further Sagging
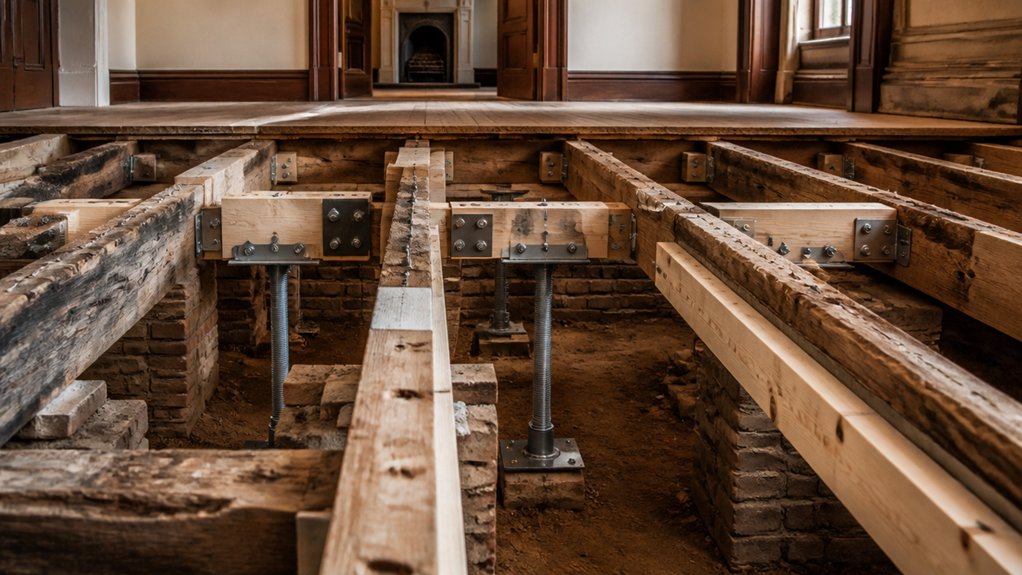
Once the joists are reinforced, restore the floor by correcting its level gradually rather than forcing a sudden lift. Use adjustable shores or jacks beneath suitable beams, raising the structure in small, measured increments and allowing time between adjustments.
Monitor levels, masonry joints, door clearances, and plaster for movement; stop if cracking or binding appears. After achieving a stable plane, secure joist connections, replace damaged boards with matching timber, and fasten flooring without concealing evidence of original construction.
Historical accuracy matters: retain hand-cut boards, traditional fixing patterns, and patina wherever sound. For aesthetic restoration, repair gaps selectively instead of creating a uniformly new appearance.
Control moisture, improve ventilation, and correct leaks to protect timber. Schedule periodic inspections, because renewed deflection often signals drainage, settlement, or inadequate support problems.
Conclusion
Straightening sagging Victorian floor joists isn’t just a structural repair—it’s a careful renewal of your home’s history. By inspecting timber, supporting joists safely, lifting gradually, and sistering weakened members correctly, you’ll restore strength without erasing character. Protect original boards, walls, and craftsmanship as you work; they’re the building’s memory. With sensible repairs and improved moisture control, your floor can stand firm for decades, carrying modern life while honouring the Victorian workmanship beneath your feet.