You may not realise that a brick fireplace hearth can look sound while hiding heat-damaged mortar and an unsafe base beneath it. Before you install a modern log burner, you need to assess the existing structure, appliance requirements, and required clearances. You then remove only compromised materials, preserve sound historic brickwork, and rebuild with suitable fire-resistant products. The final levels, dimensions, and curing time matter just as much—and one overlooked detail can undermine the whole installation.
Key Takeaways
- Inspect the hearth for cracked bricks, loose mortar, settlement, heat damage, instability, and compliance with the log burner manufacturer’s requirements.
- Remove only unsafe bricks, carefully documenting their positions, then clean and inspect the exposed base for voids, dampness, or movement.
- Rebuild with correctly rated firebrick and refractory mortar, matching the original brickwork, joints, patterns, and historical character.
- Level displaced bricks, repair joints, eliminate raised edges and voids, and create a flush, non-combustible surface free from trip hazards.
- Verify hearth dimensions, clearances, insulation, curing, and structural support, then obtain qualified approval before lighting the modern log burner.
Check the Hearth’s Damage and Stove Requirements
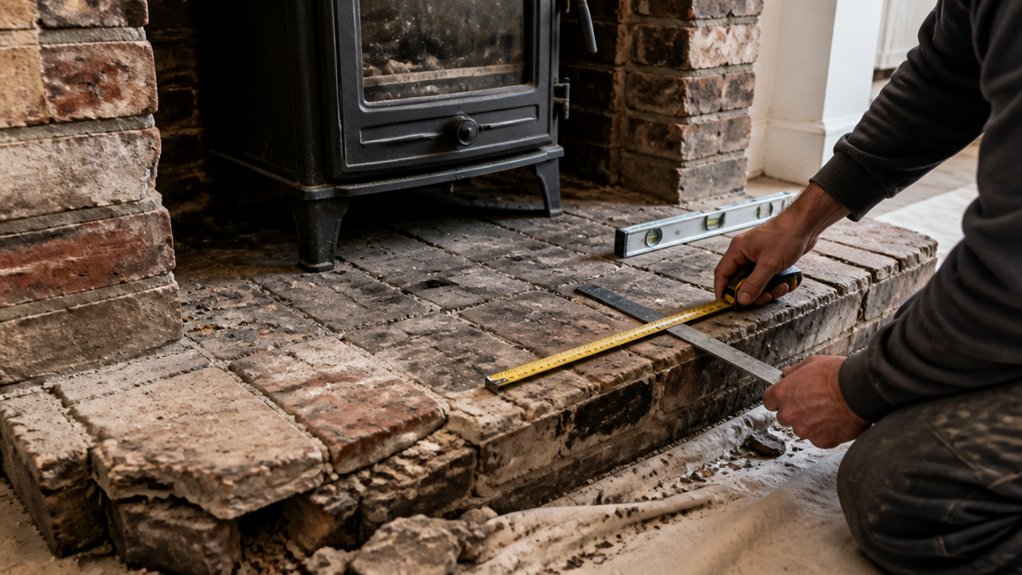
Before rebuilding, inspect the hearth for cracked bricks, loose mortar, uneven settlement, and heat damage. Then confirm that its dimensions and construction meet the requirements of the replacement stove. Check the appliance manual for minimum hearth projection, width, thickness, non-combustible performance, and required clearances from combustible floors, walls, and trim.
Record the hearth’s existing materials, bond pattern, and relationship to the firebox, noting alterations that could affect stability or compliance. You shouldn’t assume an attractive surface remains sound beneath soot, paint, or historic finishes.
Consult a qualified installer or building-control professional where regulations or structural questions arise. Preserve significant evidence before making decisions: Historical restoration techniques can guide compatible repairs, while decorative tile options should complement the period without reducing required protection or concealing defects that need careful assessment.
Remove Unsafe Bricks and Prepare the Base
Once you’ve confirmed the hearth’s requirements, isolate the work area and remove only bricks that are cracked, loose, spalled, or heat-damaged. Wear eye protection, gloves, a suitable respirator, and sturdy footwear; control dust with careful methods rather than aggressive dry grinding.
Protect retained masonry and record brick positions before lifting units, so historical restoration remains accurate and replacement work doesn’t erase the fireplace’s character. Use hand tools where possible, easing out failed mortar and avoiding vibration that could disturb sound bricks or the chimney breast.
Bag debris promptly and inspect the exposed base for voids, crumbling mortar, moisture, and signs of movement. Brush and vacuum the opening, then check that the remaining surface is stable, clean, level, and dry.
Preserve sound features, as restraint supports both safety and aesthetic enhancement.
Rebuild the Hearth With Fire-Resistant Materials
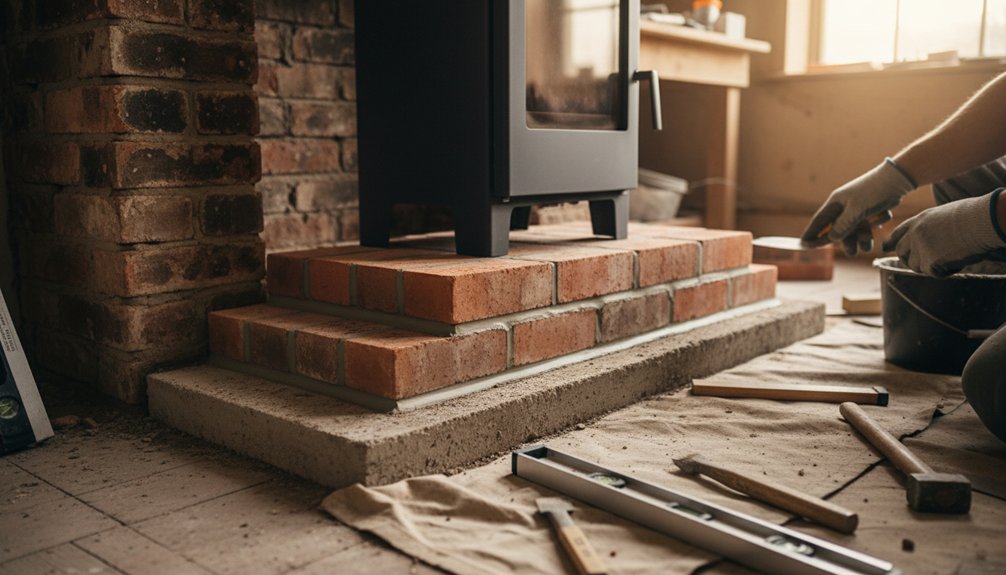
Choose firebrick rated for fireplace temperatures and a refractory mortar approved for the intended heat exposure, matching the original units where sound masonry remains. Lay replacement bricks in the established pattern, preserving historic dimensions and joint character without copying failed, oversized gaps. Butter each bed and perp joint fully, then remove squeezed mortar before it hardens.
Where the hearth meets combustible framing, install specified Thermal insulation and maintain the clearances required by your stove manufacturer and local regulations. Don’t substitute ordinary cement, gypsum products, or decorative Fireproof coatings for structural refractory materials; coatings rarely provide the required mass or heat resistance.
Protect adjacent brickwork while you work, and allow the mortar to cure according to its manufacturer’s instructions. Have a qualified installer inspect the rebuilt masonry before you connect or operate the log burner.
Level the Brick Hearth for a Stable Log Burner
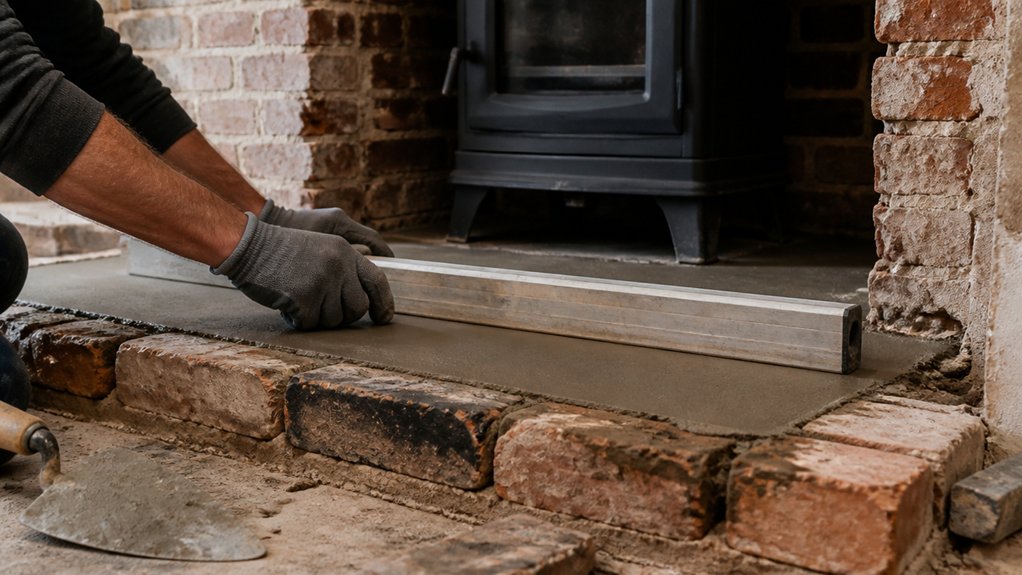
Assess the hearth surface for loose bricks, worn mortar, dips, and raised edges before installing the log burner.
You’ll need to correct uneven brickwork with compatible fire-resistant materials, preserving the fireplace’s historic fabric where possible.
Confirm the finished hearth is level, sound, and stable so the appliance won’t rock or pose a fire or carbon-monoxide risk.
Assess Hearth Surface
Before rebuilding, inspect the brick hearth for rocking bricks, open joints, cracked sections, and any slope that could make a log burner unstable.
Use a straightedge and spirit level to assess the surface in several directions, recording high and low areas without disturbing sound historic fabric.
Check the hearth’s perimeter, front edge, and junction with the fireback for movement or separation.
Confirm that the proposed appliance will sit wholly on a non-combustible, load-bearing base, with clearances specified by its manufacturer.
Don’t assume Decorative tiling provides structural support; assess its bond and condition separately, since loose tiles can conceal defects.
Likewise, verify that Fireplace insulation won’t compress beneath the appliance or obstruct required ventilation.
Photograph the existing work and note materials before planning repairs, preserving original bricks wherever safety permits.
Correct Uneven Brickwork
Once the hearth’s defects and load-bearing capacity are understood, correct uneven brickwork without removing sound historic material unnecessarily. Lift only loose or dangerous bricks, then clean and retain sound units wherever possible. Re-bed displaced bricks on a compatible lime-based mortar, matching the existing joint profile and allowing adequate curing. Don’t use rigid cement mortar, which can trap moisture, damage softer historic bricks, and hinder future repairs.
Check levels with a straightedge and spirit level, forming a firm, continuous bearing surface for the log burner’s specified hearth or appliance base. Address projecting edges and voids, but preserve original character rather than chasing perfect uniformity.
Where exposed metal supports or fixings contact damp masonry, apply suitable rust prevention measures. Finally, brush off residue and repoint neatly; this provides aesthetic enhancement while confirming a stable, non-combustible installation platform.
Meet Hearth Size and Heat-Safety Requirements
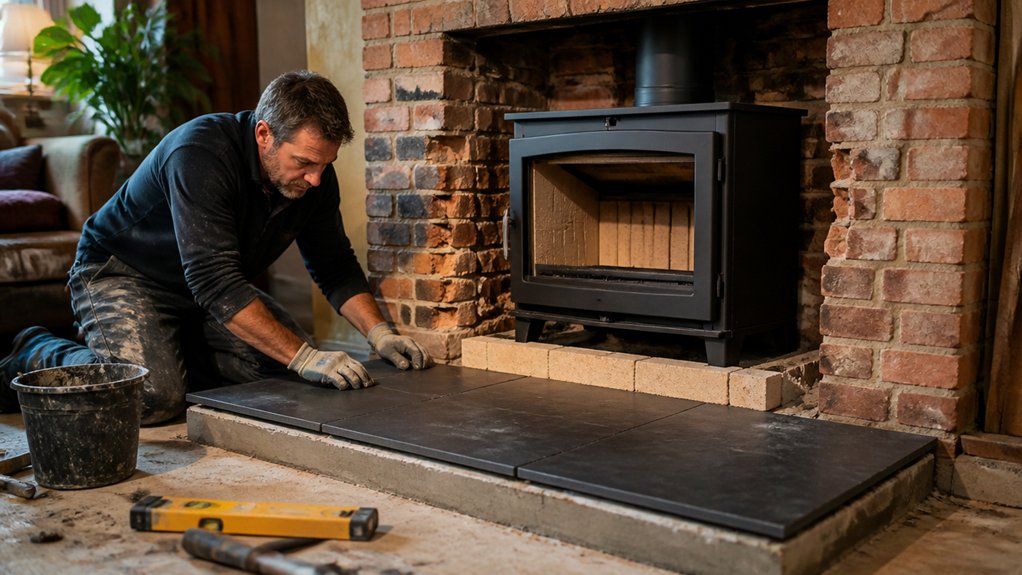
How large should the hearth be? You’ll need to meet current building regulations, not simply copy the original proportions.
For a solid-fuel log burner, provide a non-combustible hearth that projects at least 225 mm in front of the appliance and 150 mm beyond each side, unless the manufacturer specifies more.
Where the hearth isn’t raised, extend it across the full appliance footprint and maintain the required overall area.
Check the stove’s installation manual for minimum clearances from combustible floors, skirtings, timber framing, and adjacent masonry.
Protect surrounding heritage brickwork with suitable heat-resistant materials, while preserving its character.
Historical restoration and aesthetic enhancement must never compromise thermal safety.
Confirm the hearth’s construction, thickness, and insulation satisfy local regulations before installation, and consult a qualified installer where dimensions or heat exposure remain uncertain.
Inspect and Finish the Rebuilt Fireplace Hearth
Check the rebuilt hearth’s surface with a straightedge and level, correcting any uneven areas before use.
Apply a compatible, heat-resistant final finish that respects the fireplace’s historic character.
Don’t light a fire until the finish has fully cured and the hearth meets local safety requirements.
Check Surface Level
After the rebuilt hearth has set sufficiently, place a straightedge across its surface and verify that it’s level, stable, and properly aligned with the surrounding floor and firebox opening. Check in several directions, using a spirit level to identify rocking, hollows, or excessive falls.
A level hearth supports the appliance safely and helps maintain correct clearances, while uneven areas can transfer stress into the firebox or affect the burner’s installation.
Examine the edges where new work meets historic brick, checking for movement, open joints, or proud sections that could obstruct the intended appliance position. Confirm the surface integrity before proceeding, and record any measurements required by the stove manufacturer or building regulations.
Complete an aesthetic assessment from normal viewing angles, ensuring the repaired hearth respects the fireplace’s original proportions without masking defects.
Apply Final Finish
Once the hearth is level, stable, and properly aligned, clean away loose mortar, dust, and surface residue before applying the final finish.
Inspect every joint for gaps, cracking, or movement, and repoint defects with a compatible, heat-resistant mortar. Match the original brickwork where possible, using reclaimed bricks, traditional tooling, and historical restoration techniques rather than an overly uniform modern finish.
Reproduce decorative brick patterns carefully, keeping courses, margins, and surface texture consistent with the surviving hearth.
Don’t seal the masonry until the mortar has cured fully and the structure is completely dry; trapped moisture can cause spalling when heated.
Confirm the finished surface remains non-combustible, flush, and free from trip hazards.
Finally, have a qualified installer verify clearances, appliance support, and compliance before you light the modern log burner.
Conclusion
Once you’ve rebuilt the hearth, treat it as the fireplace’s foundation stone: strong, level, and ready for modern service. Check every joint, clearance, surface, and connection before lighting the log burner, and allow all materials to cure fully. Don’t overlook certification or local building requirements. By respecting the original brickwork while using suitable fire-resistant materials, you’ll preserve the hearth’s character and give its new stove a safe, dependable stage for many winters to come.