
If you own a solid-wall London home, you need to manage moisture without trapping it inside the masonry. Lime plaster and other traditional materials let walls release vapour, helping limit condensation, salt deposits, and hidden decay. Before you replaster, identify leaks, rising damp, ventilation problems, and unsuitable coatings. Cement-based repairs may conceal symptoms and increase damage. The right approach protects your health, the building’s structure, and its historic details—but only if each layer works with the wall.
Key Takeaways
- Lime plaster allows solid walls to release moisture naturally, reducing trapped damp, condensation, and salt damage.
- Traditional breathable finishes help stabilise indoor humidity, supporting healthier and more comfortable London homes.
- Effective breathability depends on sound gutters, drainage, ventilation, dry masonry, and promptly repaired leaks.
- Diagnose moisture sources before replastering, then allow walls to dry naturally and confirm stable conditions.
- Match historic plaster’s materials, texture, and colour, avoiding impermeable cement renders or vinyl paints that trap moisture.
Why Do Solid-Wall Homes Need to Breathe?
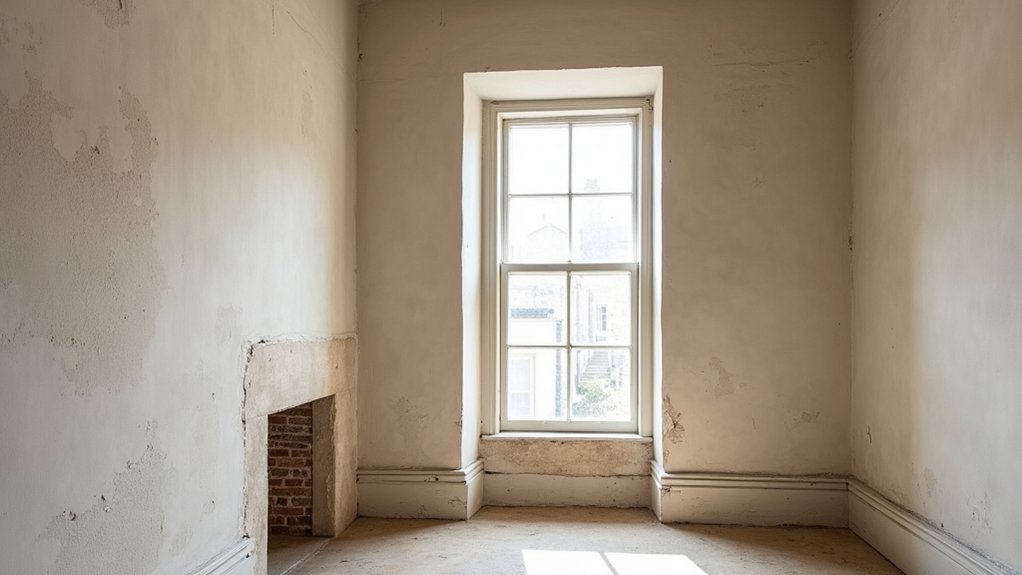
Solid-wall homes need to breathe because their masonry absorbs and releases moisture through vapour movement and capillary action. When you use vapour-permeable finishes, such as lime plaster, you allow this moisture to migrate gradually and evaporate without trapping it inside the wall. That helps protect masonry, timber, and internal finishes from moisture stress while supporting healthier Indoor air quality.
Impermeable cement render, dense paint, or sealed wall coverings can restrict drying, increasing the risk of blistering, salt damage, and mould. You’ll also help regulate indoor humidity by maintaining balanced ventilation and steady heating.
Choose Sustainable building materials that suit the building’s age, construction, and exposure. Don’t seal historic walls automatically; preserve their drying paths, and seek qualified advice where cracking, staining, or persistent dampness threatens structural or occupant safety.
Identify Damp Causes Before Replastering
Before replastering, identify damp sources such as penetrating rain, rising damp, plumbing leaks, and condensation.
Check the walls, roof coverings, flashings, gutters, and downpipes for defects, using a qualified surveyor where necessary.
You shouldn’t apply new plaster until you’ve fixed the cause and confirmed the masonry is drying safely.
Spot Common Damp Sources
Damp must be diagnosed at its source before you replaster, or new finishes may trap moisture and fail. Start by distinguishing penetrating, rising, and internal moisture.
Penetrating damp often follows defective seals, cracked render, or failed openings, while rising damp can indicate ground moisture moving through porous masonry. Internal leaks from plumbing, heating systems, or bathrooms may wet walls locally and demand urgent repair.
Check for condensation issues where poor ventilation, cold surfaces, or excessive indoor humidity create persistent moisture; mould growth around corners, windows, and behind furniture supports this diagnosis.
Use a moisture meter cautiously, compare readings across wall heights, and record patterns over several days. Don’t rely on damp-proofing sales claims alone.
Isolate electricity near wet areas, improve ventilation safely, and consult a qualified surveyor when damage remains unexplained.
Check Walls, Roofs, Gutters
Once you’ve assessed indoor moisture and plumbing, inspect the building envelope for water entry. Examine external walls for cracked pointing, failed render, open joints, and stains around windows or parapets. Check whether ground levels, paths, or bridging materials sit too high against the wall; these can redirect rain or enable rising damp.
Don’t assume wall insulation will cure moisture: poorly detailed insulation may conceal defects or reduce drying.
Inspect roof coverings, flashings, valleys, chimney abutments, and roof junctions from a safe position. Look in the loft for daylight, wet timbers, mould, and compressed insulation. Confirm that roof ventilation remains clear, because trapped condensation can mimic a roof leak.
Clean your view of gutters and downpipes, then check overflow marks, sagging runs, blocked outlets, and discharge near foundations. Photograph findings and arrange professional access where heights or unstable masonry create risks.
Resolve Problems Before Plastering
Don’t replaster until you’ve identified and corrected the moisture source, whether it’s a plumbing leak, roof defect, blocked gutter, high external ground level, or condensation. Trace staining, salt deposits, peeling paint, and musty smells, but don’t rely on appearance alone. Use a moisture meter carefully, compare readings at different heights, and investigate outside as well as inside.
Ask a qualified professional to check hidden leaks, drainage, and structural movement where necessary. Allow the wall to dry naturally; forced heating can drive moisture deeper or damage masonry. Don’t trap a solid wall behind impermeable coatings, modern insulation, cement render, or vinyl paint.
Once repairs are complete, remove contaminated material safely, improve ventilation, and confirm stable moisture levels. Only then choose breathable lime plaster and compatible decorative finishes for a durable repair.
How Does Lime Plaster Manage Moisture?
Because lime plaster is vapour-permeable, it lets moisture move through walls and evaporate rather than trapping it beneath an impermeable coating. This moisture regulation helps your solid-wall home respond to changing humidity, reducing condensation risk and limiting salt crystallisation that can damage finishes.
Breathable walls don’t mean damp walls: they still need sound gutters, functioning drainage, adequate ventilation, and a dry base. Before application, you should identify leaks, rising damp, and penetrating damp, then resolve their causes.
Lime plaster can buffer small amounts of indoor moisture, releasing it as conditions become drier, which supports a steadier internal environment. Don’t seal wet masonry or rely on plaster to conceal defects.
Wear suitable respiratory and eye protection when mixing dry materials, and follow the manufacturer’s curing and protection guidance. Monitor newly plastered areas for persistent staining, mould, or deterioration.
Lime Plaster or Cement Plaster for Old Walls?
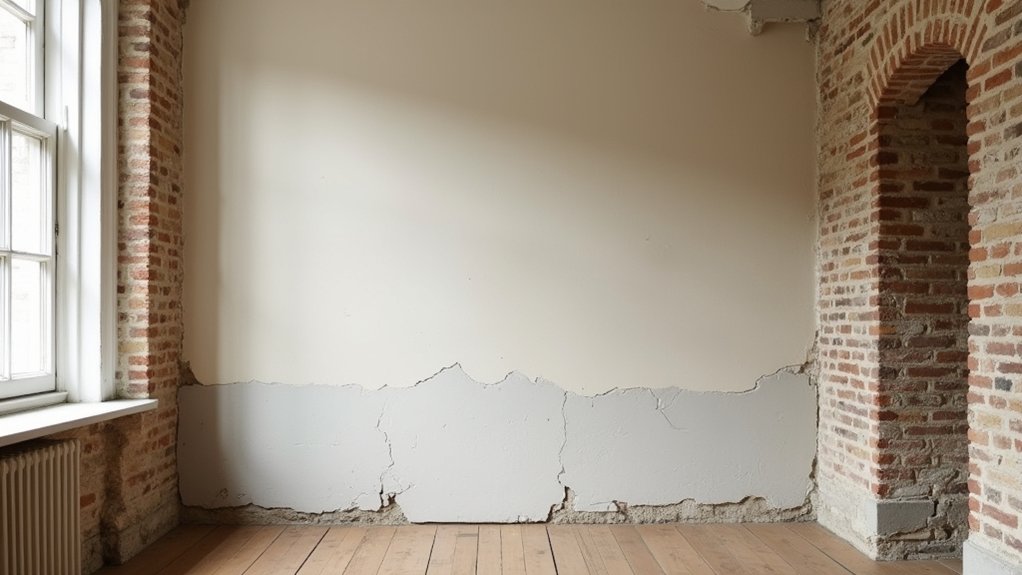
For old solid walls, lime plaster is usually more compatible than cement plaster because it accommodates slight movement and allows moisture vapour to escape. Cement plaster forms a rigid, relatively impermeable layer. If rainwater or indoor humidity enters the wall, trapped moisture can push finishes away, accelerate salt damage, and worsen damp at the base.
You should assess the wall’s construction, exposure, previous coatings, and moisture sources before specifying either material. Lime compatibility depends on selecting an appropriate mix and matching its strength to the masonry; harder isn’t automatically safer.
Cement may suit some modern, engineered backgrounds, but it can create stress and drying problems on historic brick or soft stone. Modern alternatives, including breathable mineral systems, exist, yet you should verify vapour permeability, manufacturer guidance, and site conditions.
Have a competent professional investigate cracks or persistent damp before work.
Choose Lime Plaster for Compatible Repairs
Choose lime plaster when your wall needs a repair that remains compatible with traditional masonry. Lime compatibility matters because lime-based materials accommodate slight movement, allow moisture vapour to escape, and reduce trapped damp in solid-wall London homes.
Before work starts, identify the existing plaster, brick, and mortar, then select a compatible lime type and mix. An experienced professional can assess salts, cracks, previous cement repairs, and moisture sources safely.
Remove only loose material, control dust, and protect your eyes, skin, and lungs during preparation.
Apply coats at suitable thicknesses, allowing each layer to carbonate gradually; avoid rapid drying, frost, and strong heat.
Match the repair’s strength and permeability to the wall rather than choosing the hardest product. This approach supports Historical authenticity while improving durability and indoor comfort.
Always follow manufacturer guidance and local conservation requirements.
Preserve Historic Details During Lime Repairs
Protect original cornices, mouldings, brickwork, and joinery before removing damaged lime plaster. You’ll need to record fragile details, use hand tools carefully, and control dust to prevent damage and exposure.
Match the traditional finish by testing lime mixes, texture, and colour on a small area before full application.
Protect Original Features
When repairing lime plaster in a London home, how can you preserve the building’s original character while making it sound? Start by recording cornices, ceiling roses, picture rails, timber lath, and surviving tool marks before removing anything. Photograph each feature, note its position, and label salvageable fragments.
Your inspection should identify cracks, damp sources, loose sections, and hazardous materials; don’t disturb suspected asbestos or unstable masonry without qualified advice. Protect adjoining details with breathable coverings, padded supports, and careful access equipment.
Remove only failed plaster, using hand tools where possible, and retain sound material around mouldings and junctions. This approach respects the property’s Historical significance and supports Cultural preservation.
Keep an evidence-based repair record, including materials and locations, so future work remains reversible and doesn’t erase original fabric.
Match Traditional Finishes
To preserve historic details during lime repairs, match the original plaster’s aggregate, colour, texture, and sheen rather than applying a uniform modern finish.
Begin with photographs and small, undisturbed samples, recording layers before removal.
Ask a conservation professional to identify compatible sand grading, lime type, pigments, and finishing tools.
For historical accuracy, test panels in discreet areas and let them carbonate fully before judging colour or surface character.
Prioritise aesthetic matching without disguising surviving mouldings, shadow lines, or tool marks.
Avoid cement-rich mixes, impermeable paints, and aggressive sanding; they can trap moisture and damage soft masonry.
Wear eye protection, gloves, and suitable respiratory protection during preparation.
Keep repaired edges feathered, but don’t overwork the surface.
Document materials and methods, then allow the wall to dry gradually before applying a breathable finish.
Improve Comfort With Breathable Wall Finishes
Breathable wall finishes can improve comfort in London homes by allowing water vapour to move through the wall rather than trapping it behind an impermeable coating. This helps solid masonry regulate humidity, reducing condensation, mould risk, and musty odours when ventilation works properly.
Lime plaster also buffers minor moisture fluctuations, helping rooms feel steadier through changing seasons. Don’t seal historic walls with cement render, vinyl paint, or other non-breathable products without evaluating moisture movement first; trapped water can damage masonry and timber.
Coordinate any Modern insulation with the wall’s vapour profile, and maintain background ventilation, especially in kitchens and bathrooms.
Choose finishes that support an aesthetic enhancement while remaining vapour-open, durable, and repairable. Test coatings on a small area, follow manufacturer guidance, and investigate persistent damp rather than simply covering symptoms.
Find the Right Lime Plaster Specialist
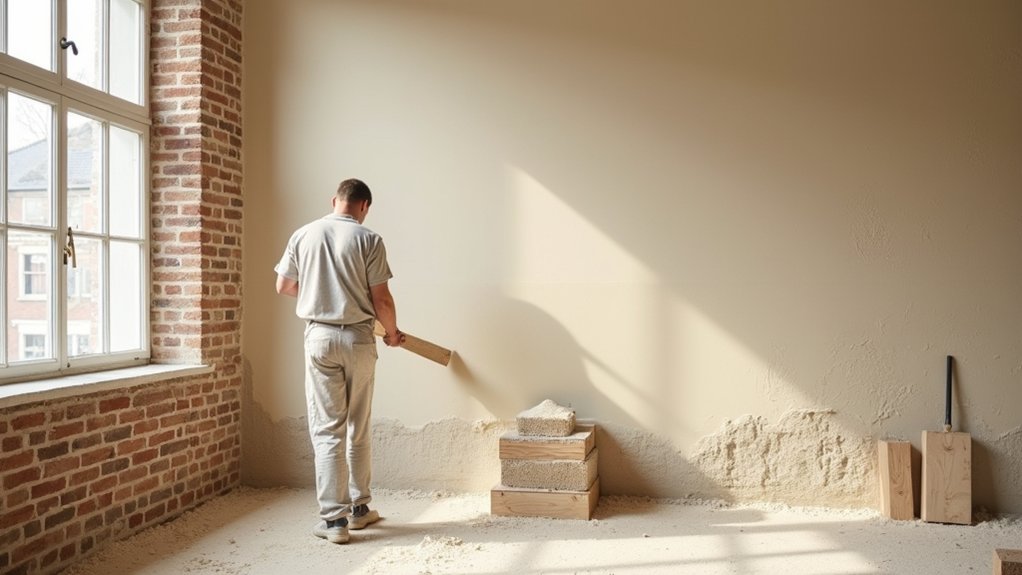
Choose a lime plaster specialist with proven experience in London’s solid-walled and historic properties, because correct preparation and application are essential for vapour movement, adhesion, and long-term durability.
Ask for recent references, relevant qualifications, public-liability insurance, and evidence of conservation work.
Your specialist should inspect the wall, identify salts, damp sources, failed coatings, and movement before recommending a specification.
Confirm which Lime plaster mix, coats, curing periods, and finishes they’ll use; unsuitable cement-rich products can trap moisture and damage masonry.
Discuss compatibility with Modern insulation, especially at junctions around reveals, floors, and roofs, to avoid cold bridges and condensation.
Require a written method statement, access plan, dust controls, and safe working procedures.
Don’t accept guarantees that ignore ventilation, weather exposure, or ongoing maintenance.
A careful survey protects your home and budget.
Frequently Asked Questions
How Long Does Lime Plaster Take to Dry Completely?
You’ll typically wait one to four weeks for lime plaster drying, depending on thickness, humidity, ventilation, and temperature. Follow proper Lime plaster application techniques, avoid forced heat, and confirm complete curing before decorating.
Can Lime Plaster Be Painted, Wallpapered, or Tiled?
Yes—you can paint, wallpaper, or tile lime plaster; it isn’t too delicate. Make sure Lime plaster compatibility first, allow complete curing, then choose breathable mineral paint, suitable wallpaper adhesive, or flexible tile systems. Guarantee surfaces stay sound, dry, and dust-free.
How Much Does Professional Lime Plastering Typically Cost in London?
You’ll typically pay £80–£150 per m² for professional lime plastering in London, depending on preparation and finish. Request itemised quotes, verify breathable materials, and discuss Lime plaster benefits and traditional building techniques with contractors.
Is Lime Plaster Suitable for Bathrooms and Kitchens?
Yes, you can use lime plaster in bathrooms and kitchens, provided you guarantee moisture resistance, thorough surface preparation, adequate ventilation, and suitable finishes. Avoid prolonged water exposure, seal vulnerable areas, and repair damage promptly.
How Should Lime-Plastered Walls Be Cleaned and Maintained?
Treat lime plaster maintenance like a royal decree: you’ll dust gently, clean lime walls with minimal water and pH-neutral soap, avoid bleach and scrubbing, repair cracks promptly, and guarantee ventilation prevents persistent dampness.
Conclusion
If you own a solid-wall London home, choose repairs that let moisture move safely through the building. Lime plaster, breathable finishes, and compatible materials can reduce condensation, protect historic details, and support long-term comfort—but only after you’ve identified the damp source. Remember, about one-third of UK housing stock predates 1945, when solid walls were common. Don’t seal these walls with inappropriate cement. Ask a qualified lime specialist to assess, specify, and apply the correct system safely.