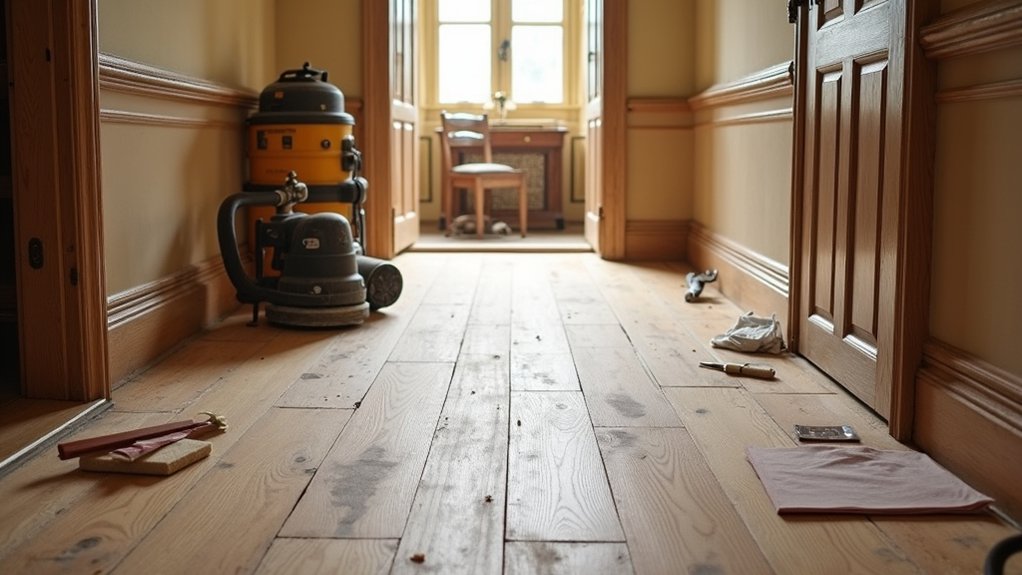
Restoring original Edwardian flooring doesn’t require sacrificing its character when you work methodically. You’ll first inspect every board, identify weak supports, and plan repairs that preserve the existing timber. Next, you’ll protect surrounding features, secure loose boards, and remove protruding nails before sanding gradually along the grain. After filling gaps, you’ll apply a compatible finish and establish a maintenance routine. The condition of hidden fixings and subfloor damage, however, may change your approach.
Key Takeaways
- Inspect and document original boards, identifying rot, insect damage, loose fixings, and unsalvageable sections before intervention.
- Protect fireplaces, skirtings, joinery, thresholds, and adjacent rooms with breathable coverings and carefully sealed doorways.
- Repair movement, squeaks, split tongues, and missing fasteners, replacing only damaged boards with accurately matched timber.
- Sand progressively with the grain, fill narrow gaps appropriately, test stain on an offcut, and apply compatible protective coats.
- Maintain the restored floor with gentle cleaning, furniture protection, controlled humidity, and regular inspections for moisture or wear.
Check Edwardian Floorboards and Plan Repairs
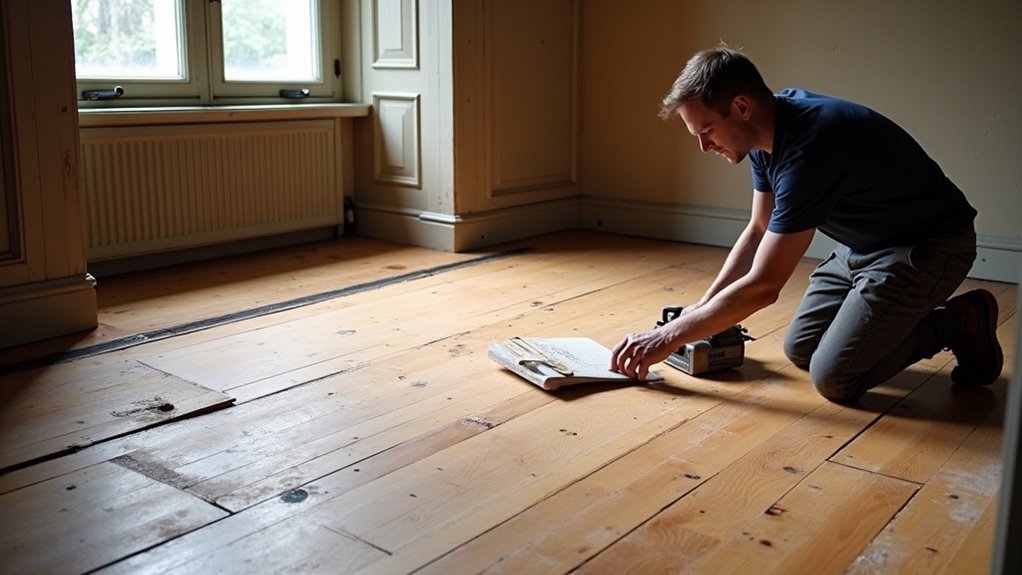
Before refinishing Edwardian flooring, inspect each floorboard for rot, splits, loose fixings, insect damage, and excessive movement. Probe suspicious areas with an awl, then mark defects with removable tape. Check board edges, joists, and nail lines, because movement may indicate failed support rather than a surface problem.
Record board widths, timber species, grain direction, and existing finishes to guide historical accuracy and material selection. Replace only unsalvageable boards; retain sound originals wherever possible. Match replacement timber by species, dimensions, moisture content, and grain, allowing it to acclimatise before installation.
Countersink compatible fixings carefully, and repair minor splits with suitable adhesive or timber slivers. Address damp, fungal decay, or active insects at the source before sanding. If boards remain unstable, obtain a carpenter’s assessment before proceeding.
Prepare the Room and Protect Original Features
Clear the room completely, then protect retained features before any sanding begins. Remove furniture, rugs, curtains, and detachable fittings, and vacuum settled dust from skirting boards and ledges.
Seal doorways with taped polythene to contain dust, but provide controlled ventilation through a window or suitable extractor.
Cover fireplaces, radiators, built-in cabinets, and adjacent flooring with breathable protective sheeting; don’t trap moisture against timber.
Mask skirtings and architectural joinery with low-tack tape, pressing edges firmly without covering historic paint unnecessarily.
Protect thresholds and stair edges with rigid board secured outside the sanding path.
Isolate smoke alarms only where permitted, and restore them immediately afterward.
Photograph room details and label removed hardware.
Record existing finish tones to guide later Color matching and maintain historical accuracy throughout the restoration.
Repair Loose Boards and Protruding Nails
Now inspect every board for movement, squeaks, split tongues, and raised or missing fasteners. Mark unstable areas with low-tack tape.
For a loose board, lift nearby debris from the joint, then drive a suitably sized flooring nail through the board into a joist, keeping the head slightly below the surface. Predrill near edges to prevent splitting.
If a nail stands proud, use controlled nail removal with pincers or a nail punch; don’t lever against the timber.
Replace missing or badly damaged boards by cutting along joist centres, matching the original species, width, and thickness. Complete board replacement requires support cleats beneath unsupported ends and carefully aligned fixings.
Tighten squeaky boards only after locating the joists, and avoid disturbing sound boards.
Check every repair with a straightedge before proceeding.
Sand, Fill Gaps, and Finish Edwardian Floorboards
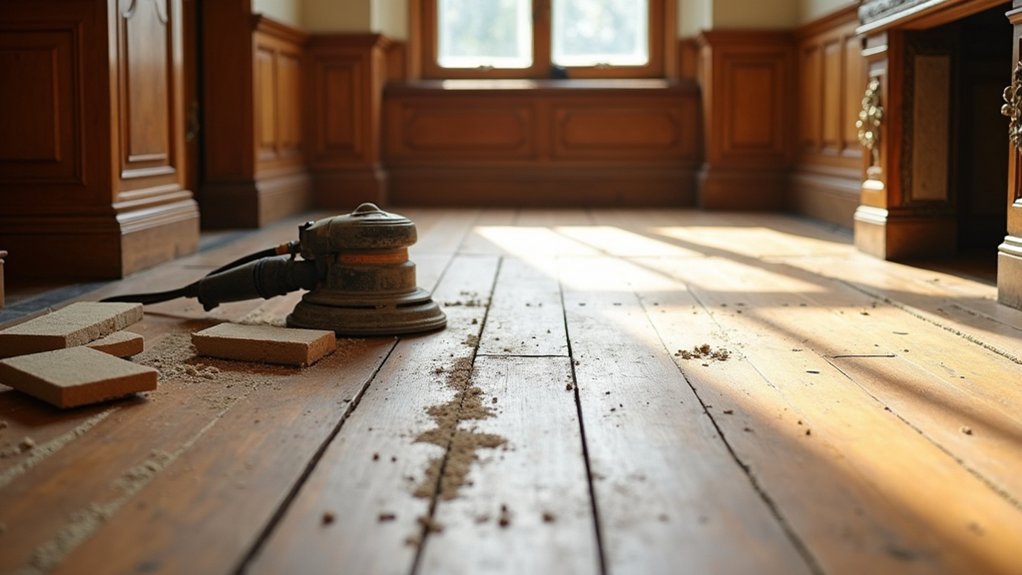
Once repairs have cured and every board sits securely, vacuum the floor thoroughly, then sand with the grain using progressively finer abrasive grades. Start with coarse abrasive only where old finish or unevenness demands it; finish with a fine grade to produce a smooth, consistent surface.
Edge-sand carefully, keeping the machine level to prevent dips. Vacuum again and wipe with a clean, barely damp cloth to remove dust.
Press flexible wood filler into narrow gaps, then scrape it flush after curing. Don’t fill perimeter expansion gaps, which allow seasonal movement.
Test your chosen stain color on an offcut or concealed board, because Edwardian timber can absorb pigment unevenly. Apply stain along the wood grain, wipe off excess, and let it dry fully.
Seal with compatible floor lacquer, oil, or hardwax, applying thin, even coats.
Maintain Your Restored Edwardian Floorboards
How can you preserve the finish without compromising the character of your Edwardian floorboards? Start by vacuuming with a soft-brush head, then mop using a barely damp microfibre pad and pH-neutral wood cleaner. Don’t saturate joints; standing water can swell boards and loosen historic fixings.
Fit felt pads beneath furniture, lift rather than drag heavy pieces, and place breathable mats at entrances to capture grit. Maintain stable indoor humidity, ideally around 40–60%, to limit seasonal movement, cupping, and open joints.
Renew wax or the specified protective coating only when the surface shows wear, following the manufacturer’s preparation and drying instructions. Avoid steam mops, abrasive powders, silicone polishes, and rubber-backed rugs.
Inspect quarterly for scratches, gaps, or moisture damage, addressing defects promptly. These measures support floorboard durability while protecting your aesthetic restoration for years.
Frequently Asked Questions
Can Edwardian Floorboards Be Refinished Without Removing Skirting Boards?
Yes, you can refinish Edwardian floorboards without skirting board removal. Use edging equipment carefully, protect trim, and check flooring thickness first; insufficient timber may prevent sanding and require cleaning, filling, or coating only.
How Long Should Restored Edwardian Flooring Cure Before Furniture Is Replaced?
Allow at least 24–48 hours for floor curing before furniture placement after water-based finishes; wait 3–7 days for oil-based products. You’ll protect the restored surface by lifting furniture, avoiding rugs, and delaying heavy use.
Are Reclaimed Boards Suitable for Matching Damaged Edwardian Floorboards?
Yes, you can use reclaimed boards for repairs, provided you verify reclaimed board matching and historic flooring compatibility. Choose similar species, dimensions, grain, moisture content, and wear; acclimatise boards before installation, then finish consistently.
Can Underfloor Heating Be Installed Beneath Original Edwardian Floorboards?
Yes, you can install underfloor heating beneath original Edwardian floorboards, but you’ll need careful assessment. Add underfloor insulation, protect timber from excessive temperatures, and choose modern heating systems with thermostatic control and low-profile components.
What Professional Qualifications Should an Edwardian Flooring Specialist Have?
You’ll want a specialist with heritage-training credentials, proven Historical accuracy, and documented Restoration techniques. Check conservation experience, flooring qualifications, insurance, references, moisture-testing skills, and knowledge of period materials, joinery, finishes, and reversible repairs.
Conclusion
Restoring original Edwardian flooring requires patience, precision, and respect for its construction. By inspecting every board, protecting surrounding features, securing loose fixings, and sanding progressively with the grain, you’ll preserve both stability and character. Fill gaps selectively, then apply a compatible finish suited to the timber and expected wear. Treat the completed floor as a living piece of history: clean it gently, control moisture, and address movement or damage promptly so its craftsmanship can endure.