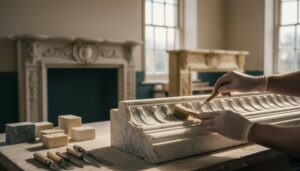
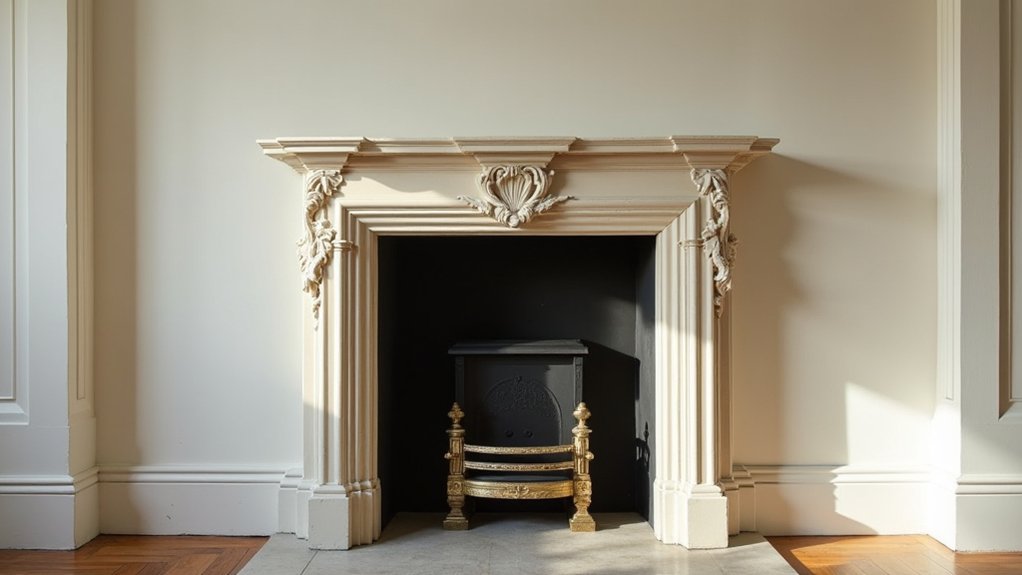
Like a conservation case where a single surviving moulding reveals an entire room’s history, your Georgian fireplace surrounds can preserve clues to its original craftsmanship. Begin by documenting its profiles, materials, paint layers, and condition before touching the surface. Check the chimney, structure, and old coatings, then protect the room and clean gently with soft brushes and distilled water. Use breathable, period-appropriate materials and reversible repairs—but the most difficult decisions begin when missing details must be recreated.
Key Takeaways
- Inspect, photograph, and document the surround’s materials, mouldings, finishes, damage, and previous repairs before beginning restoration.
- Test existing paint and coatings, especially for lead, and use gentle cleaning methods that preserve historic patina and original surfaces.
- Repair masonry with compatible traditional lime mortar, matching the original material’s texture, color, permeability, and tooling.
- Reconstruct missing Georgian mouldings from documented profiles, using period-appropriate materials and preserving sound original details wherever possible.
- Apply breathable, historically appropriate finishes in muted tones, testing color, sheen, adhesion, and reversibility on small areas first.
Assess Your Georgian Fireplace Surround
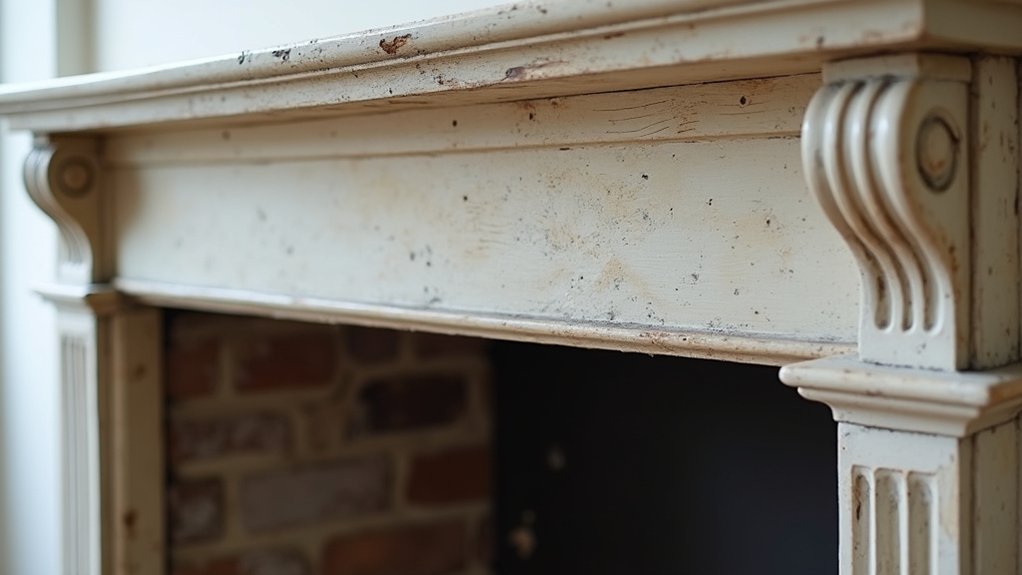
Before restoring your Georgian fireplace surround, inspect its condition, construction, and surrounding wall. Identify the material—marble, stone, timber, or composite—and record dimensions, moulding profiles, joints, fasteners, and surviving surface treatments.
Photograph every elevation and mark defects on a measured sketch. Look for chips, open seams, lifting ornament, distortion, staining, and previous repairs, but don’t disturb unstable pieces.
Test a small, inconspicuous area to distinguish paint, wax, soot, and later coatings; stop if the finish resists or flakes unexpectedly.
Compare details with period references to support Historical accuracy, noting replacements that don’t match the original design.
Assemble suitable Restoration tools, including a torch, magnifier, soft brushes, scraper, rule, and camera.
Wear gloves and eye protection, and isolate the work area before handling components.
Check the Chimney, Structure, and Old Paint
Have a qualified chimney professional check the flue, breast, and hearth before you loosen or remove any part of the surround. A thorough Chimney inspection should identify blockages, open joints, failed parging, damp penetration, and unsafe combustion gases. Don’t light the fire until the flue passes testing and receives any required repairs.
Arrange a Structural assessment to confirm that the chimney breast, lintel, masonry, and hearth remain stable. Look for stepped cracks, bulging brickwork, loose stone, settlement, and movement around the opening. Ask a specialist to investigate defects rather than filling them cosmetically.
Test old paint, especially layers applied before modern regulations, for lead before scraping or sanding. If lead is present, use an accredited contractor or controlled methods, and keep dust contained. Record findings and repair causes before restoring finishes.
Protect the Room and Surround Before Work
Before you begin, clear the work area and remove fragile or combustible items.
Cover floors and furniture with secured dust sheets or protective boards to prevent damage.
Mask surrounding walls, trim, and fittings to contain dust and protect finished surfaces.
Clear the Work Area
Protect the room before touching the Georgian fireplace surround: remove nearby furniture, cover the floor with a securely taped drop cloth, and seal openings with plastic sheeting to contain dust and debris.
Keep the immediate work zone uncluttered, leaving clear access to the fireplace and an unobstructed exit.
Switch off nearby electrical circuits if you’ll use damp methods, and remove candles, ornaments, grates, and loose accessories.
Don’t stack materials against the surround; vibration or accidental contact can damage fragile plaster, stone, or timber.
Assemble Restoration tools outside the protected zone, including scrapers, brushes, containers, and a vacuum fitted with fine-particle filtration.
Review the surround’s Historical context before moving any fixed element; original trims and finishes may require conservation rather than removal.
Wear eye protection, gloves, and a suitable dust mask throughout.
Cover Floors and Furniture
Lay a securely taped, waterproof drop cloth across the floor, extending beyond the fireplace to catch dust, chips, and cleaning liquids. This floor protection should lie flat without gaps or curled edges that could cause trips.
Over delicate flooring, add rigid boards beneath the cloth to distribute pressure from ladders or equipment.
Move furniture from the work zone; if removal isn’t practical, place it well away from the surround and cover it with breathable, securely fastened sheets.
Don’t use loose plastic where static or shifting could create hazards.
Furniture preservation also requires padding sharp corners and keeping damp materials off wood, upholstery, and painted finishes.
Inspect coverings throughout the job, replacing saturated or torn sections promptly.
Keep tools, buckets, and debris on a separate protected area to prevent accidental damage.
Mask Surrounding Surfaces
With the floor and furniture covered, mask the surfaces around the Georgian fireplace to contain dust and prevent stains or scratches. Use low-tack painter’s tape on painted walls, timber trim, and delicate finishes; test it first in an inconspicuous area. Press tape firmly along edges, but don’t force it into cracks or ornament. Overlap tape onto protective film or heavy paper, sealing joints against dust migration.
Wrap nearby fittings, hearth accessories, and electrical outlets, leaving ventilation openings clear. For plaster, stone, or fragile historic coatings, choose a compatible removable tape and avoid prolonged adhesion.
Create a neat Decorative mask around the surround without hiding defects you must inspect. Good surface preparation includes cleaning dry, sound areas before taping.
Keep blades and solvents away from protected finishes, and remove masking slowly after work.
Clean the Surround Without Removing Patina
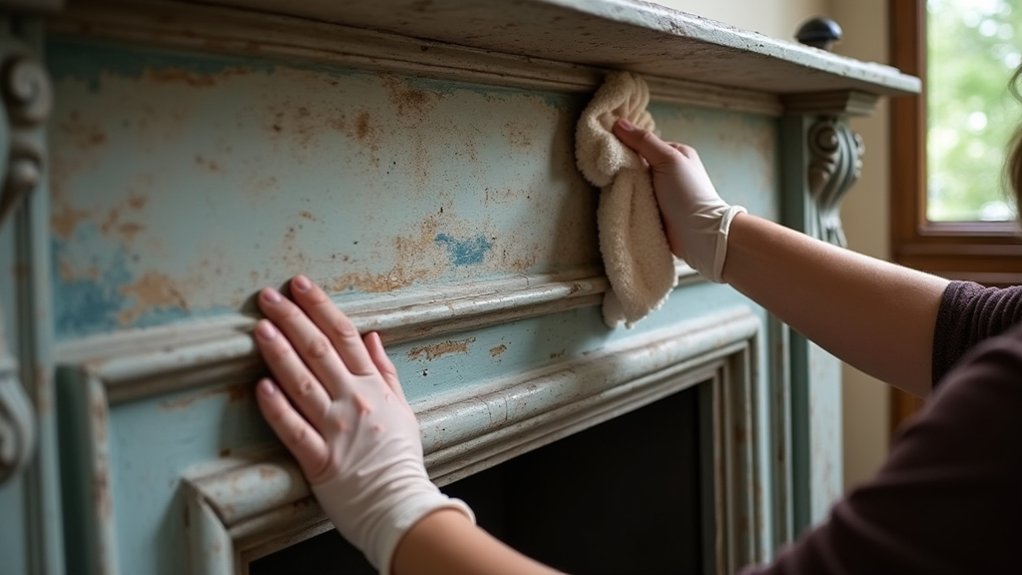
Before cleaning, document the surround’s condition and test a small, hidden area to confirm that your method won’t alter the finish. Wear nitrile gloves, eye protection, and a suitable mask, especially when dust may contain soot or historic coatings.
Use a soft natural-bristle brush and a vacuum fitted with HEPA filtration to lift loose debris; don’t scrub or drag grit across the surface.
For gentle cleaning, lightly dampen a lint-free cotton cloth with distilled water and wring it nearly dry. Work in small sections, changing cloths as they soil, and avoid saturating porous stone, plaster, timber, or painted details.
Never use bleach, acidic cleaners, abrasive pads, or household polish.
Prioritize patina preservation: stop if color transfers, gloss changes, or friable material appears.
Let the surround dry naturally with ventilation.
Choose Period-Appropriate Repair Materials
Choose materials that match the surround’s original composition, including compatible brick, stone, or plaster.
Use traditional lime mortar where appropriate, and confirm that existing masonry is stable before repointing or repairing it.
Finish the work with period-accurate coatings, while testing samples first to protect the historic patina.
Match Original Materials
When repairing a Georgian fireplace surround, match the original material’s composition, texture, and color rather than relying on modern substitutes. Examine concealed edges, sound fragments, and nearby period features before selecting replacement stone, brick, timber, cast iron, or plaster.
Record grain direction, aggregate size, surface tooling, and weathering patterns; these details support historical accuracy and prevent conspicuous patches. Ask a conservation specialist to identify uncertain materials, especially where paint or soot obscures the substrate.
Source reclaimed material only after checking it for salts, oil contamination, structural damage, and incompatible coatings. Wear gloves, eye protection, and a suitable respirator when cutting, scraping, or handling dusty fragments.
Test every proposed repair on a removable sample first, then compare it under natural and firelight. Preserve sound original material whenever possible, and document each choice for future maintenance.
Use Traditional Lime Mortar
Once the original materials are identified, use a traditional lime mortar compatible with the surrounding masonry. Choose a mix whose strength, permeability, and aggregate size match the existing joints; overly hard cement mortar can trap moisture, damage soft brick, and accelerate decay.
For historical accuracy, have a conservation specialist assess the original binder and recommend an appropriate lime type, such as non-hydraulic or hydraulic lime.
Remove failed mortar carefully with hand tools, avoiding damage to brick edges and carved stone. Dampen the joints lightly, then pack the lime mortar firmly in thin lifts, leaving it slightly recessed or flush according to surviving evidence.
Protect fresh work from frost, direct sun, wind, and rapid drying. Wear eye protection, gloves, and suitable respiratory protection when handling dry lime or creating dust.
Allow adequate curing time before further work.
Select Period-Accurate Finishes
Match the finish to the fireplace’s period, surviving evidence, and substrate rather than applying a modern coating by default. Examine protected areas for original limewash, distemper, oil paint, or tinted plaster, and photograph each layer before testing.
Choose breathable, mineral-based finishes that allow moisture to escape through masonry and lime plaster. Avoid impermeable acrylics, vinyl emulsions, and cement-rich repair products, which can trap damp and accelerate salt damage.
Test a small, inconspicuous patch, then assess colour, sheen, adhesion, and reversibility after curing. If evidence is incomplete, use a muted, historically plausible tone rather than copying contemporary styles.
Don’t distress new work artificially; let natural variation provide authenticity. During application, ventilate the room, wear suitable gloves and eye protection, and isolate the fireplace until coatings have fully dried.
A Modern renovation should respect, not conceal, historic fabric.
Repair Stone, Wood, Cast Iron, and Paintwork
Repair each material according to its condition and construction: consolidate loose stone with a compatible conservation mortar, splice or replace decayed timber with seasoned wood, and treat cast iron for corrosion before applying a heat-resistant coating.
For Decorative stone, dry-brush deposits, test a pH-neutral cleaner, and avoid aggressive abrasives that can erase tooling.
Stabilise Wooden detailing before filling small losses with a reversible repair compound; match grain direction and use breathable primer and paint.
Remove failing paintwork carefully, testing for lead before disturbing older layers.
Wear gloves, eye protection, and suitable respiratory protection, and ventilate the room.
Don’t seal damp masonry or trap moisture beneath impermeable coatings.
Allow repairs to cure fully, then apply thin, compatible finish coats.
Keep combustible materials away from the firebox, and have the chimney and appliance inspected before lighting.
Repair Mouldings and Replace Missing Details
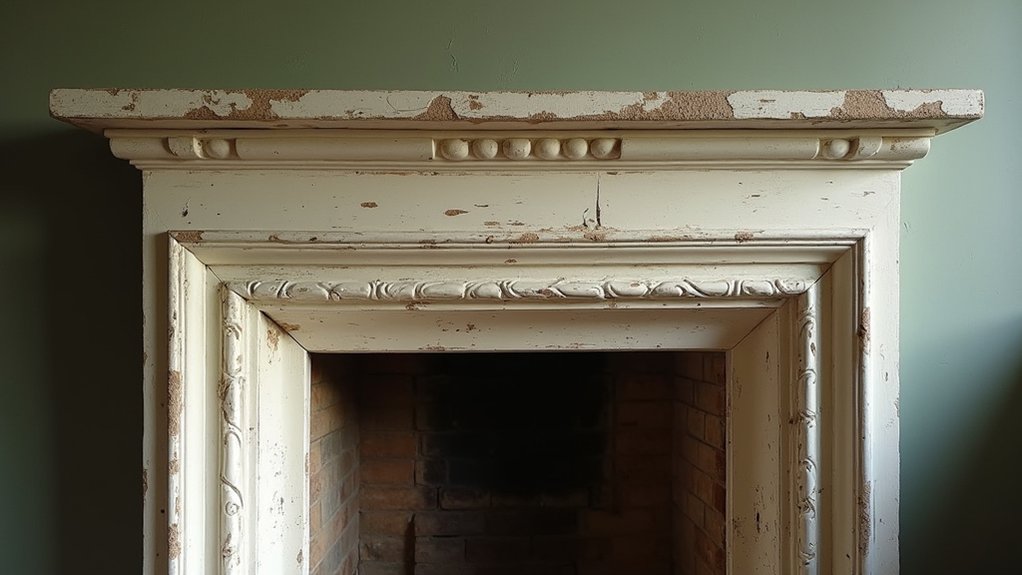
Before rebuilding a damaged moulding, document its profile, dimensions, and attachment points so the replacement remains faithful to the original. Photograph adjoining details, take templates, and label each piece before removal.
Wear eye protection and a dust mask when scraping loose material; test old coatings for hazardous substances before sanding or cutting.
For Historical accuracy, match the original timber, plaster, stone, or composition material, allowing for its movement and age. Consolidate sound edges with a compatible adhesive, then pin or screw replacements into solid substrate without splitting fragile members.
Shape new timber with hand tools, or cast plaster details from a silicone mould taken from an intact section. Keep joints tight, but don’t erase evidence of historic construction.
Use reversible Restoration techniques wherever practical, and record every intervention for future conservators. Inspect fixings regularly, especially above the fire opening, before proceeding with further work.
Apply an Authentic Georgian Fireplace Finish
Once repairs have cured, prepare the surround for an authentic Georgian finish by removing loose dust, degreasing sound surfaces, and lightly abrading only where appropriate. Wear suitable gloves, eye protection, and a respirator when dust or solvent fumes require it.
Check surviving paint layers or consult conservation guidance before choosing a colour; Historical accuracy depends on evidence, not assumptions.
For material sourcing, select compatible breathable paints, traditional limewash, or specialist mineral coatings, and obtain samples from reputable suppliers. Test each coating on an inconspicuous area, allowing it to dry fully before evaluating colour and adhesion.
Apply thin, even coats with a quality brush, following the manufacturer’s drying times. Don’t seal damp masonry or cover decorative evidence unnecessarily.
Keep ventilation steady, control drips, and mask adjacent floors and metalwork before painting.
Maintain the Restored Surround and Fireplace Safely
To preserve the restored surround, keep the firebox, hearth, and surrounding masonry dry, clean, and protected from sudden heat changes. Vacuum soot with a soft brush, and wipe painted, marble, or timber surfaces using materials approved for that finish. Don’t saturate porous stone or scrub historic coatings.
Inspect mortar joints, firebricks, grates, dampers, and flue connections each year; arrange repairs when you find cracks, looseness, staining, or smoke leakage. Have the chimney professionally swept and tested at suitable intervals, especially before regular seasonal use.
For fireplace safety, burn only dry, seasoned wood, use a properly fitted guard, and never leave flames unattended. Keep combustibles, decorations, and furniture clear.
Useful maintenance tips include installing carbon-monoxide alarms, recording inspections, and consulting a conservation specialist before altering original materials or applying new sealants.
Frequently Asked Questions
Can I Restore a Georgian Fireplace Surround Myself, or Should I Hire a Specialist?
You can handle minor cleaning and repairs using DIY techniques and restoration tools, but hire a specialist for structural damage, fragile materials, historic detailing, or uncertain paint, ensuring safe, authentic results throughout the restoration process.
How Much Does Professional Georgian Fireplace Surround Restoration Typically Cost?
You’ll typically pay £1,500–£6,000 for professional Georgian fireplace surround restoration; complex damage, specialist finishes, or structural repairs increase costs. Request itemized quotes prioritizing historical accuracy and material preservation, and verify insurance, references, and safety procedures.
Are There Grants Available for Restoring Listed Georgian Fireplaces?
You may find grants, but they’re not guaranteed. Historic preservation funds, listed-building schemes, and local heritage programs sometimes help; use approved conservation techniques, secure consent first, and document quotes, methods, and safety controls.
How Long Does a Complete Georgian Fireplace Surround Restoration Usually Take?
You’ll typically need four to eight weeks for complete restoration, depending on damage, approvals, and drying times. Restoration techniques prioritise Historical accuracy; allow extra time for surveys, specialist materials, safe access, and inspections.
Can Restored Georgian Fireplace Surrounds Improve My Home’s Resale Value?
Yes, restored Georgian fireplace surrounds can improve resale value by preserving character, showcasing craftsmanship, and reassuring buyers. You’ll benefit most when restoration follows historic preservation standards, documented fireplace maintenance, and safe, code-compliant installation.
Conclusion
Restoring a Georgian fireplace surround rewards patience: the faint paint line you uncover may coincide with the room’s original color scheme, revealing how the whole space once worked. You’ll preserve that story by cleaning gently, repairing with breathable, compatible materials, and retaining sound patina rather than making everything look new. Before lighting the fireplace, have the chimney inspected, confirm ventilation, and check for loose components. With regular maintenance, your surround will remain safe, authentic, and beautifully connected to its period craftsmanship.