
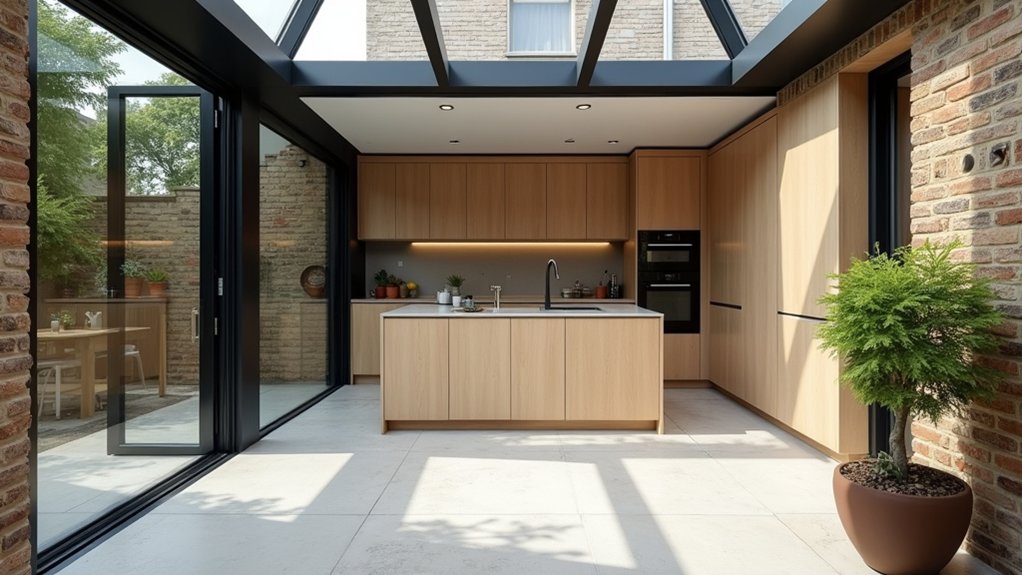
Picture your narrow side return becoming a bright, useful extension rather than a forgotten strip of brick and paving. You can gain valuable floor area in a compact London period property by measuring the existing footprint, checking planning and building requirements, and choosing a layout that improves circulation. Combine the extension with integrated appliances, vertical storage, under-stair drawers, and concealed cupboards to protect period character. The key decisions begin before the first wall moves—and one overlooked constraint can reshape the entire project.
Key Takeaways
- Measure the side return accurately, recording boundaries, drains, pipes, wall thicknesses, levels, and roof overhangs before designing the extension.
- Use a compact L-shaped or single-wall kitchen layout, maintaining clear circulation, efficient appliance placement, and flexible furniture arrangements.
- Maximize daylight with well-positioned rooflights, glazed openings, and slim-framed windows while respecting period proportions and conservation requirements.
- Integrate clever storage through tall cabinetry, built-in benches, concealed utility cupboards, and under-stair solutions to reduce visual clutter.
- Protect original fireplaces, brickwork, doors, and timber details, securing planning, building-regulation, and party-wall approvals before construction.
Measure Your Side Return First
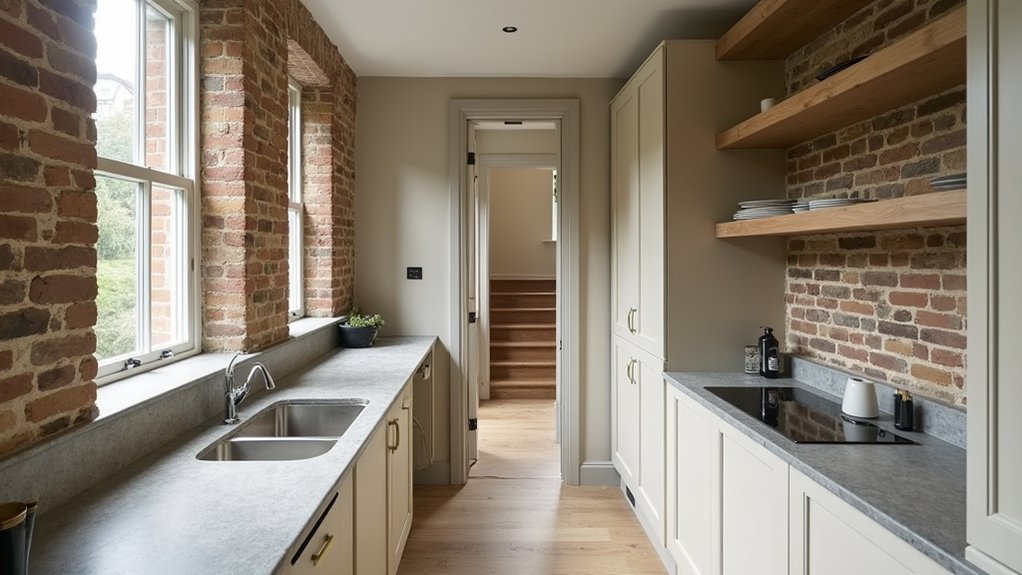
Before planning a side-return extension, measure the available width and length at several points, including any changes caused by boundary walls, drains, pipes, or existing foundations.
Record each dimension on a scaled survey drawing, noting wall thicknesses, floor levels, openings, and roof overhangs.
Check whether the boundary follows a straight line; older London properties often contain irregular angles or shared walls that affect usable space.
Locate inspection chambers, rainwater runs, soil pipes, and utility routes before fixing the proposed footprint.
Use a laser measure for consistent readings, then verify critical dimensions manually.
Accurate side accuracy measurement helps you identify constraints early and supports reliable layout planning.
Photograph each elevation and mark obstructions on the drawing.
Confirm access widths for construction materials, and compare internal and external measurements before finalising the design.
Set Your Extension Budget and Timeline
Once you’ve measured the side return, set a realistic extension budget that covers design fees, surveys, planning or building-control charges, construction, kitchen or bathroom fittings, and a contingency of at least 10–15% for unforeseen work.
Compare itemised quotations, confirm VAT treatment, and separate fixed costs from provisional sums. Budget planning should also include temporary accommodation, storage, utility upgrades, and financing costs where relevant.
Next, create a programme with your designer and contractor. Allow time for measured drawings, structural calculations, tendering, contractor appointment, procurement, construction, inspections, and final commissioning.
Timeline management depends on ordering long-lead items, such as windows, rooflights, cabinetry, and appliances, early. Add float for delivery delays and weather.
Set payment milestones against completed work, retain written variations, and review expenditure weekly so you can act before overruns threaten completion.
Check London Planning and Building Rules
Check whether your proposed side return extension needs planning permission, falls under permitted development, or requires a lawful development certificate. Your site’s conservation area status, Article 4 directions, listed-building designation, and local borough policies can restrict permitted development rights. Contact your council’s planning department before commissioning drawings, and verify height, depth, roof, boundary, and materials requirements.
Where Historic preservation applies, consult the conservation officer and obtain listed-building consent separately; planning permission alone may not authorise alterations.
You’ll also need Building regulations approval covering structure, foundations, insulation, ventilation, drainage, fire safety, and electrical work. Use a competent designer to prepare coordinated plans, calculations, and specifications.
Confirm party-wall responsibilities with adjoining owners, and serve notices where required. Keep every decision, approval, certificate, and inspection record for future sale documentation.
Choose the Right Side-Return Layout
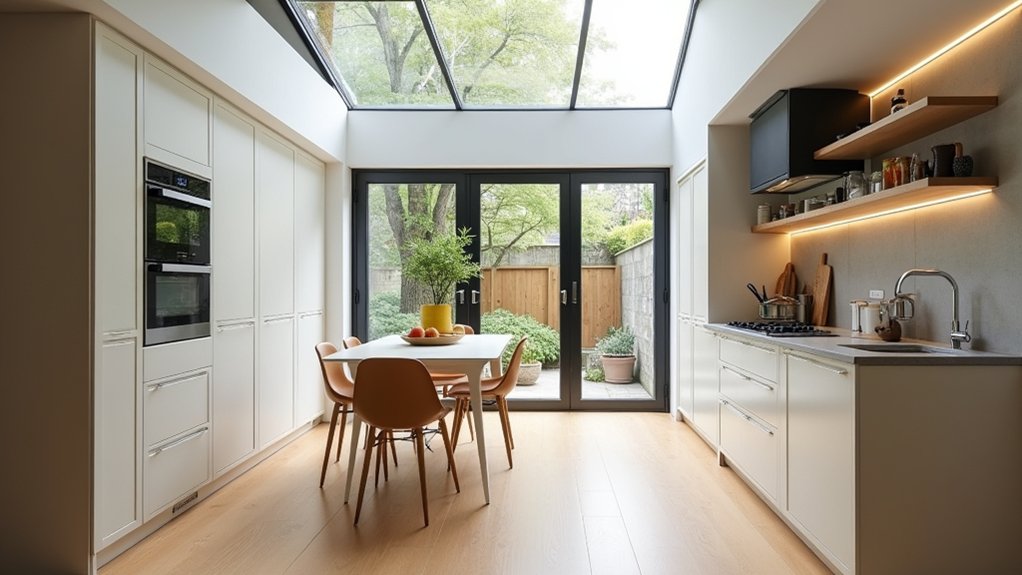
Choose the layout around how you’ll use the room, where daylight enters, and how people move between the kitchen, dining area, garden, and existing house. Start by mapping door swings, circulation widths, structural walls, and service routes.
A single-wall kitchen maximises floor area for dining, while an L-shaped arrangement separates preparation from seating without blocking movement. If you need more storage, consider a compact peninsula, provided it leaves at least 1,000mm for clear circulation.
Layout options should also account for radiator positions, drainage falls, appliance ventilation, and access to the garden.
Place frequently used appliances within an efficient work triangle, but avoid creating a route through the cooking zone.
Key design considerations include sightlines from the entrance, furniture flexibility, and sufficient wall space for tall units without making the room feel enclosed.
Bring More Light Into Your Kitchen
With the layout established, plan how daylight will reach the worktops, dining area, and circulation routes. Natural lighting should guide your window placement, not simply decorate the extension.
Install a rooflight or glazed roof panel above the side return to deliver overhead illumination deep into the plan.
Position a vertical window or glazed door at the garden end to provide balanced, low-angle light and maintain a visual connection outdoors.
Choose slim-frame, thermally efficient glazing to maximise the aperture without compromising insulation.
Check window orientation, neighbouring properties, and summer overheating before finalising sizes.
Specify solar-control glass, external shading, or an adjustable blind where south-facing glazing receives intense sun.
Keep reveals light-coloured to improve reflectance, and coordinate artificial task lighting so it supports daylight after dusk without creating glare.
Plan Storage Around Every Gap
Plan storage while the extension’s layout is still flexible, so every awkward corner contributes useful capacity. Measure wall lengths, service zones, and door clearances before choosing units.
Use shallow cabinets beside windows, full-height cupboards at dead-end walls, and drawer banks beneath worktops to exploit narrow footprints without restricting circulation. Specify adjustable interiors, allowing shelves to accommodate appliances, cookware, and cleaning equipment as needs change.
Integrate hidden storage behind flush panels or beneath window seats, but maintain ventilation around boilers, refrigerators, and electrical equipment. Creative shelving can occupy upper wall sections, though keep frequently used items between waist and eye level.
Coordinate joinery with lighting and sockets during the design stage, preventing access problems later. Label zones by function, and reserve one accessible section for everyday essentials, so your compact extension stays orderly.
Use the Space Beneath the Stairs
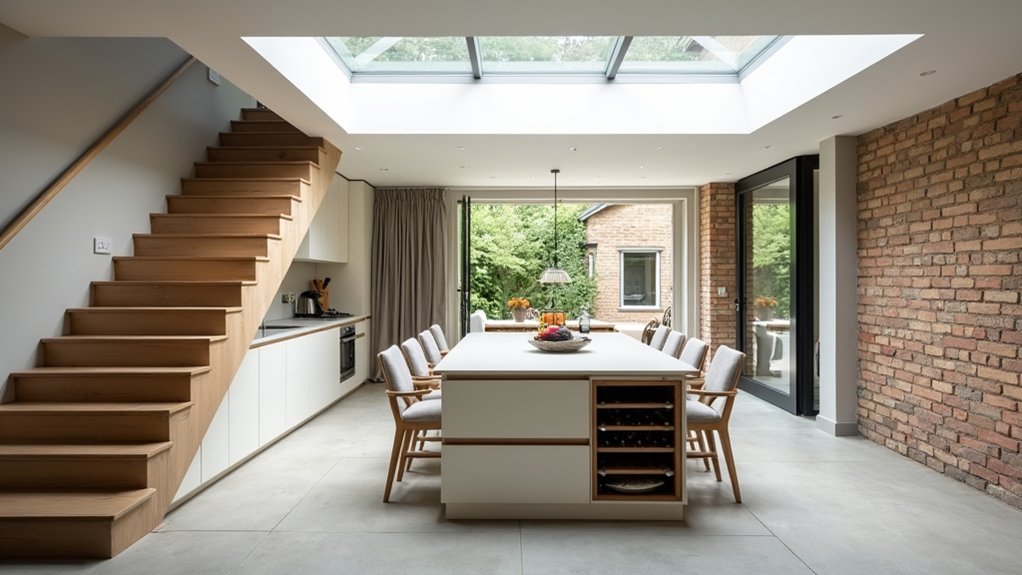
When designing a staircase or refurbishing the area beneath it, measure the changing headroom, stair pitch, and available depth before specifying storage. Map services, damp risks, skirting boards, and door swings, then divide the void into usable zones.
Install shallow drawers where low clearance prevents cupboards, and use full-height cabinets near the stair’s outer edge. Pull-out units let you access deep recesses without crawling inside, while adjustable shelves accommodate cleaning equipment, shoes, or household supplies.
Add a dedicated socket and task lighting if you’ll store appliances or use a compact workstation. Ventilate enclosed cupboards to prevent condensation, particularly against external walls.
Seal edges carefully, and keep access panels removable for maintenance. Treat awkward, hidden corners as assets: well-planned under stair storage can reclaim valuable floor area.
Blend Modern Design With Period Character
Preserve original features such as cornices, sash windows, floorboards, and exposed brick to retain your property’s period character.
Add contemporary finishes—such as handleless cabinetry, slim-profile lighting, and durable modern flooring—without obscuring these details.
You’ll create a balanced interior by matching new materials to the building’s proportions, colours, and existing textures.
Preserve Original Features
Original features can give a London property its strongest sense of identity, so treat them as assets rather than obstacles. Before designing a side-return extension, survey cornices, ceiling roses, skirting boards, doors, fireplaces, brickwork, and stair details. Record their condition, dimensions, and position, then protect them during construction with sealed coverings and temporary supports where necessary.
Keep significant elements in their original rooms whenever possible; relocating them can weaken the building’s historic logic. Repair timber with matching profiles, use compatible mortar on exposed brick, and avoid cement-based products that trap moisture in older walls.
Period preservation also means checking conservation-area guidance and listed-building controls before altering fabric. A measured survey and photographic schedule will help you specify sympathetic repairs, obtain approvals, and prevent accidental loss while creating useful additional space.
Add Contemporary Finishes
Once period fabric is protected, introduce contemporary finishes that improve light, durability, and everyday function without competing with the building’s character. Select slim-framed glazing, such as powder-coated aluminium or steel-look systems, to maximise daylight while echoing existing window proportions.
Use continuous flooring to connect the side return with adjoining rooms; engineered timber, porcelain, or polished concrete can withstand heavy traffic and underfloor heating.
Choose a restrained palette of mineral paint, natural timber, and textured tile, then repeat key tones across joinery and walls. Contemporary finishes should provide contrast through texture, not visual clutter.
Add Modern accents with discreet pendant lighting, brushed-metal hardware, and integrated appliances. Coordinate these details with original brick, cornices, or sash windows, and conceal services wherever possible.
You’ll achieve a cohesive, durable interior that feels updated yet unmistakably period.
Avoid Common Extension Mistakes
Before work begins, you’ll need to confirm planning permission and comply with London’s local building regulations.
You should also obtain structural calculations to protect load-bearing walls, foundations, and adjoining properties.
These checks can prevent costly delays, redesigns, and safety issues.
Check Planning Permissions
Check your planning position before finalising designs, because London extensions can require householder planning permission, conservation-area consent, or approval under permitted development rules. Confirm your property’s designation, including listed-building status, Article 4 directions, and conservation-area controls, with your council’s planning portal.
Don’t assume a small side-return qualifies automatically: limits cover height, width, depth, roof form, materials, and boundary proximity. Ask a planning consultant or architect to assess drawings against current permitted-development criteria and local policies.
Secure written approvals before signing contracts or starting work. Your Planning permissions strategy should also cover building-regulation approval, party-wall notices, drainage requirements, and any licence affecting shared access.
Meeting these legal requirements protects you from enforcement, costly redesigns, retrospective applications, and delays. Keep certificates, decisions, drawings, and correspondence with your project records.
Protect Structural Integrity
With permissions and approvals in place, protect the existing building by addressing structural risks before construction starts. Commission a load bearing analysis to assess walls, foundations, joists, and roof connections, particularly where your side return meets the period structure.
Don’t assume a wall is non-structural because it looks thin; verify its function from drawings, inspections, and trial openings. Ask your structural engineer to specify beams, padstones, temporary works, and foundation depths, accounting for neighbouring properties and ground conditions.
Use Structural reinforcement where movement, cracking, or inadequate masonry demands it, rather than hiding defects behind finishes. Your contractor should monitor adjoining walls, install temporary propping correctly, and sequence demolition carefully.
Include movement joints, damp-proofing, and drainage details to prevent future settlement, moisture ingress, and cracking. Arrange inspections before covering structural work.
Frequently Asked Questions
Can I Live in My Home During a Side-Return Extension?
Yes, you can usually live at home during a side-return extension, but expect dust, noise, restricted access, and temporary services. Coordinate phasing, safety, interior layout, and aesthetic integration with your contractor beforehand.
How Can I Minimise Disruption to Neighbours During Construction?
You’ll minimise disruption by prioritising neighbor communication before work starts. Agree construction timing, delivery routes, working hours, dust controls, and contact details; protect shared boundaries, monitor noise, and resolve complaints promptly throughout construction.
Will a Side-Return Extension Increase My Property’s Resale Value?
Yes, a well-designed side-return extension can increase your Home value by adding usable floor area. In London’s Property market, returns depend on build quality, planning compliance, neighbourhood demand, and avoiding overdevelopment that limits buyer appeal.
What Insurance Should I Arrange Before Extension Work Begins?
Arrange Insurance coverage before work starts: notify your buildings insurer, obtain contract-works and non-negligent damage cover, and verify the contractor’s builder liability, employers’ liability, and public liability policies, including limits, exclusions, and duration.
How Do I Choose a Reliable London Extension Contractor?
Choose a reliable London extension contractor by checking Contractor credentials, recent references, insurance, and verified reviews. Request comparable cost estimation, detailed contracts, staged payments, timelines, and planning experience. Coincidentally, clarity now prevents costly surprises later.
Conclusion
With careful measurement, a realistic budget, and early checks on London planning and building requirements, you can turn a narrow side return into valuable living space. Choose a layout that improves circulation, maximise glazing for daylight, and design storage into every wall, stair, and awkward corner. Keep period details where they matter, then integrate modern services discreetly. Done well, your extension won’t just add metres—it’ll make your whole home work harder, feel brighter, and live better.